Quill Feather Flag Assembly | Flag Assembly Guide
Quill Feather Flag Assembly Guide
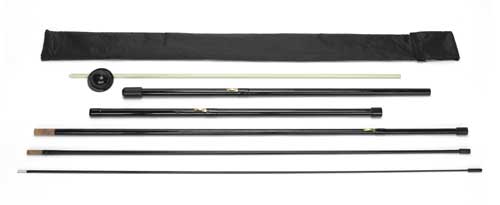
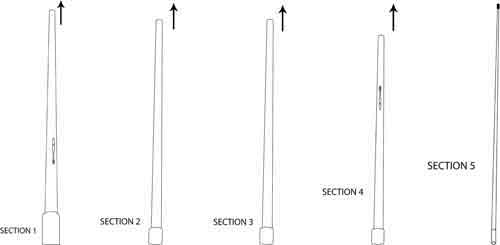
There are five pole sections for quill feather flag assembly. Always start with the largest pole section (Section 1), which is the bottom of the Quill Feather Flag pole. Each section of the pole slides into the next from largest to smallest until the pole is completely assembled. Section 1 also fits into Section 3 if you would like to use a shorter pole.
Remove the bungee cord from the pocket at the top of the carrying case. This is needed for flag attachment.
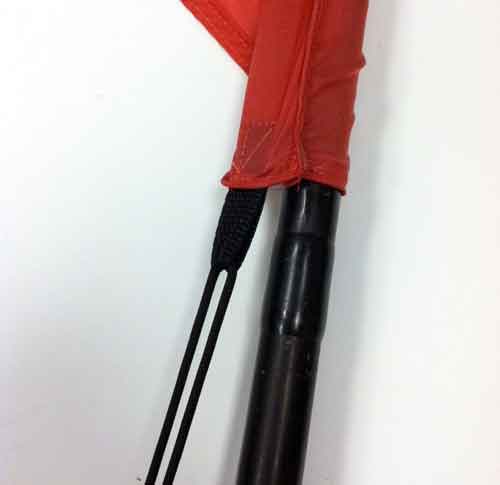
Slide the sleeve of the flag over the top of the pole. Make sure that the tip of the pole slides all the way to the pocket at the top of the flag and does not snag. The pole will then bend to take the shape of the quill feather flag as you pull down tension on the bungee cord.

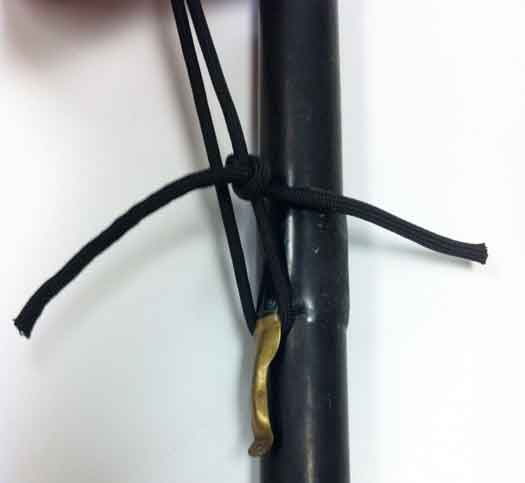
Loop the bungee cord through the tab at the bottom of the sleeve of the flag. Then, tighten the bungee to provide enough tension for the flag and pole to arch. Tie and attach the bungee cord to one of the clips on pole Section 1, 2 or 3 to secure it in place.

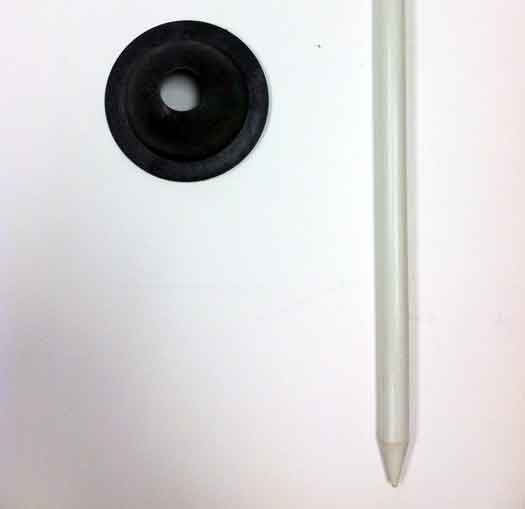
Being careful not to damage the fiberglass spike, hammer the ground spike into the ground. Take the rounded collar out of the top pocket of the carrying case and place it over the ground spike. The collar helps to stabilize the pole and allows it to spin freely as the wind changes directions.
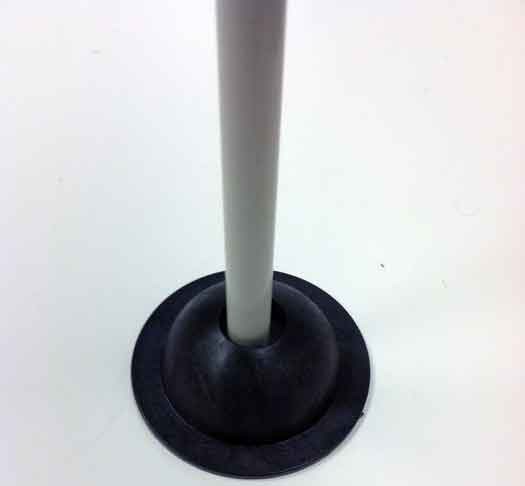
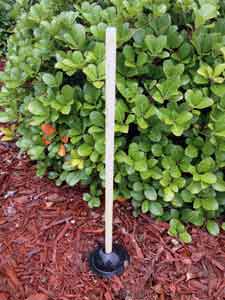
Slide the assembled Quill feather flag pole down onto the installed ground spike. Your Quill Feather Flag kit is ready for display.
Quill Feather Flags Hardware Set
By Chad Creech, All Star Flags